You're juggling holiday chaos—parties, gifts, and zero time for baking. A no-bake holiday dessert saves the day, ready in under an hour with no oven required.
These creamy Oreo balls deliver festive cheer: chocolatey centers, smooth white chocolate coating, and colorful sprinkles everyone loves.
Perfect for cookie swaps or last-minute platters. You'll feel like a pro without the stress.
How To Make No Bake Holiday Dessert
This no-bake holiday dessert is creamy Oreo truffles coated in melted white chocolate and topped with red and green sprinkles. They taste rich and indulgent, with a crunchy bite that screams holiday joy. Whip them up for effortless crowd-pleasing treats.
Ingredients
- 36 Oreo cookies (about one standard package; use regular for best texture)
- 8 oz cream cheese, softened to room temperature (full-fat for creaminess)
- 1 tsp vanilla extract (enhances the chocolate flavor)
- 12 oz white chocolate chips or bark, for dipping (good quality melts smoothly)
- Red and green holiday sprinkles, about 1/2 cup (for festive topping)
Step-By-Step Instructions
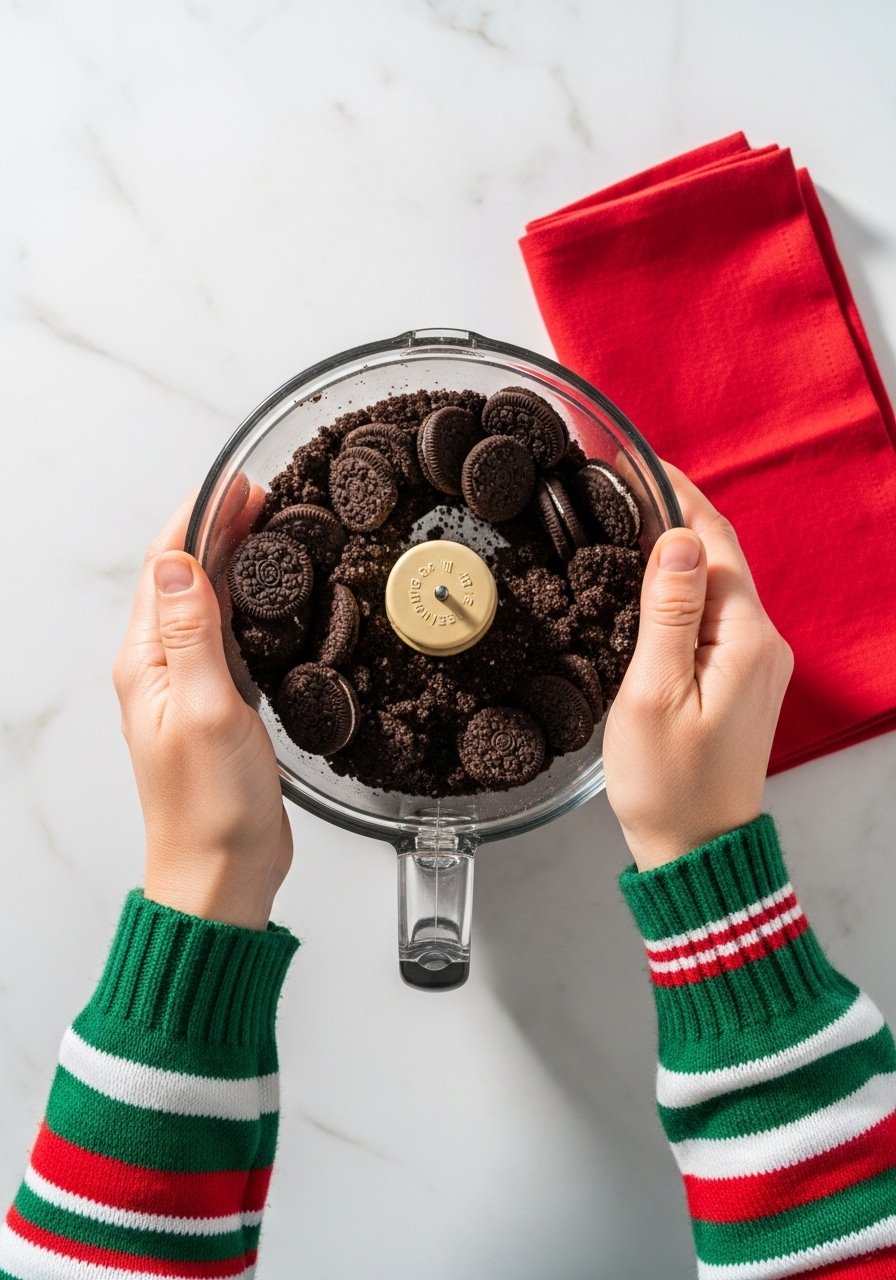
Step 1: Crush the Oreos
Pulse the Oreo cookies in a food processor until fine crumbs form, like wet sand. This takes about 1-2 minutes. Scraping down sides ensures even texture.
Crushing first creates the base—without big chunks, your balls hold together perfectly. If no processor, seal in a zip-top bag and smash with a rolling pin.
You'll have around 3 cups of crumbs. Set aside 2 tablespoons for garnish if desired.
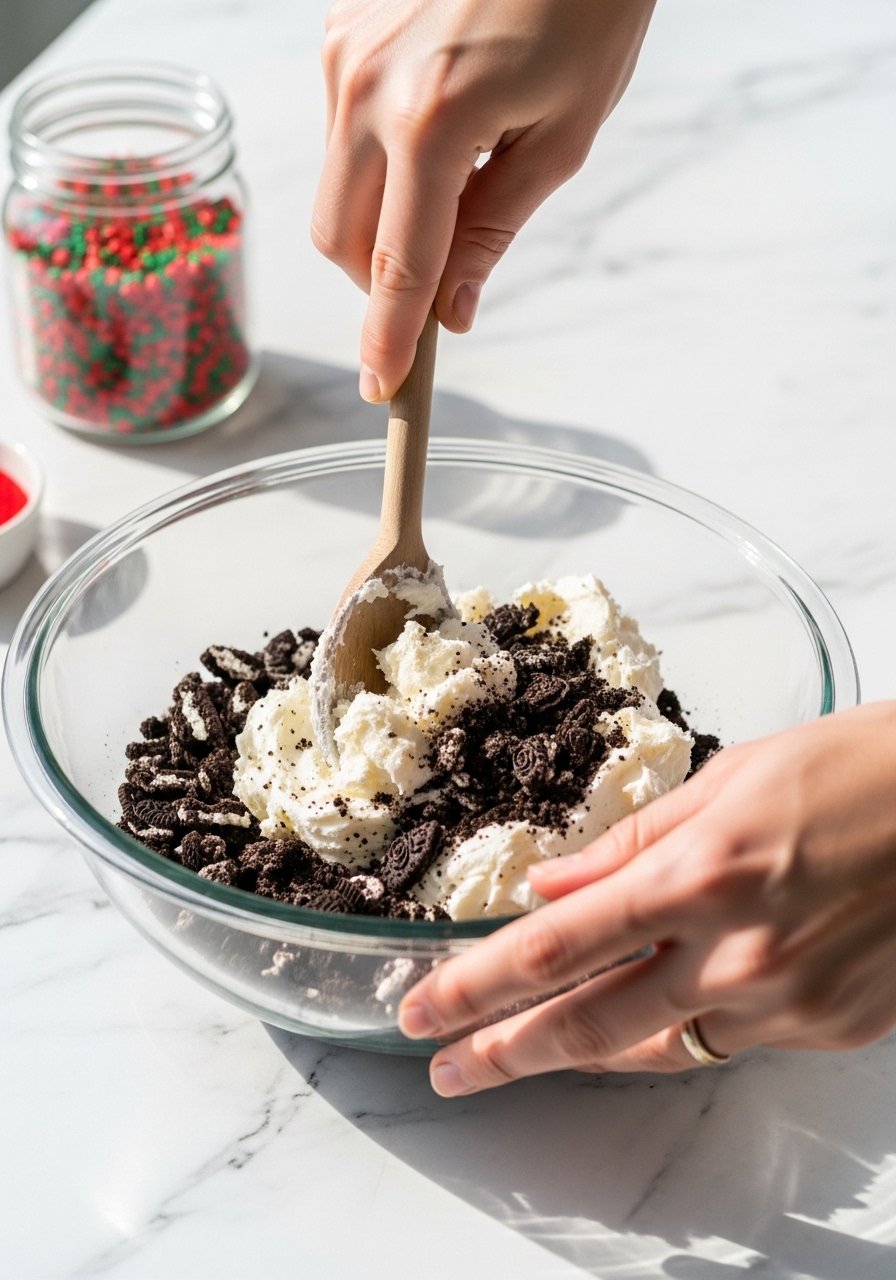
Step 2: Mix the Filling
In a large bowl, beat softened cream cheese until smooth, about 1 minute with a hand mixer. Add vanilla and crushed Oreos, mixing on low until a thick dough forms.
This step binds everything—cream cheese adds moisture so no dry balls. Knead by hand if needed; it shouldn't stick to your fingers.
Taste a tiny bit; adjust vanilla if you want more flavor. Chill dough 15 minutes for easier rolling.
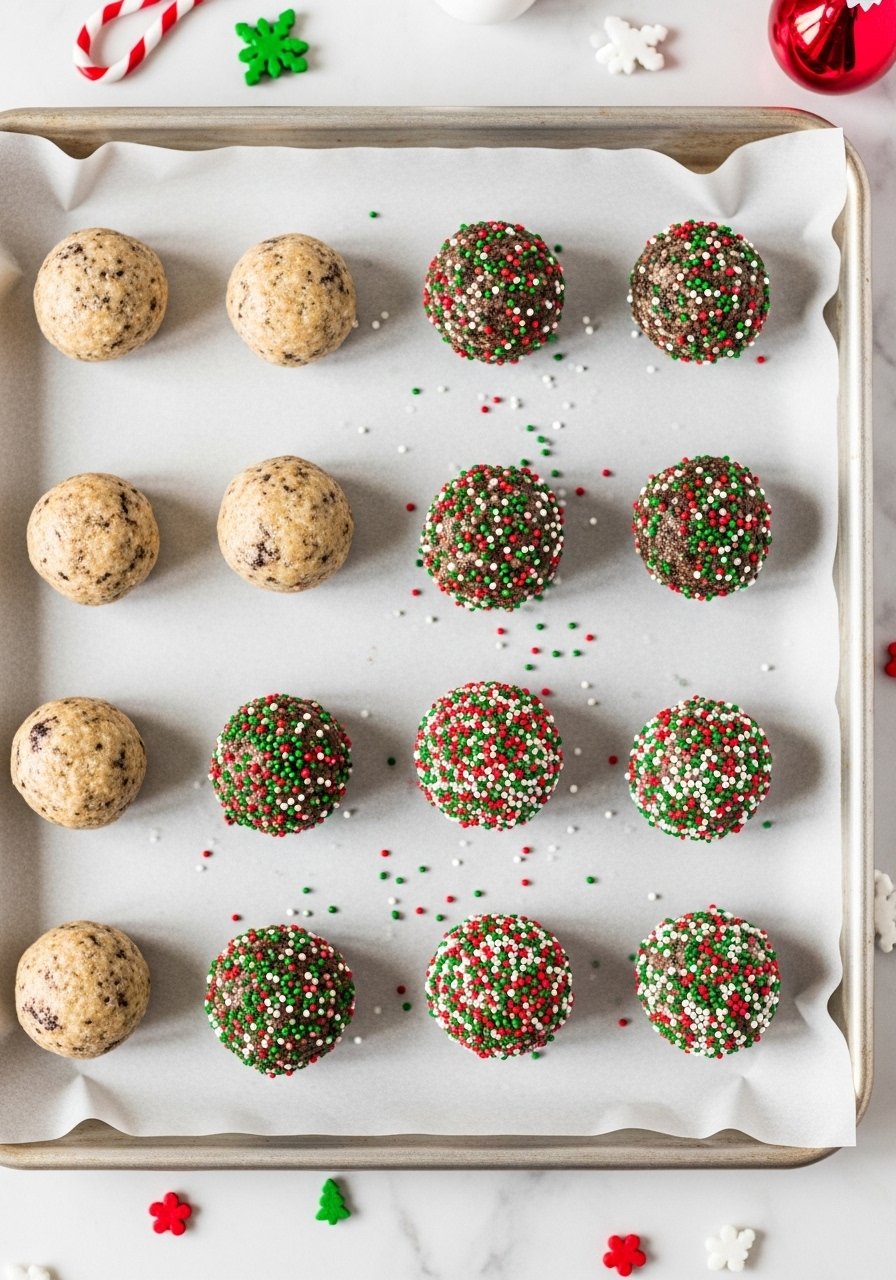
Step 3: Roll into Balls
Scoop 1-tablespoon portions and roll tightly between palms into 1-inch balls. Place on parchment-lined baking sheet.
Uniform size ensures even dipping—aim for 36 balls. Press gently to smooth cracks.
Freeze 20-30 minutes until firm. This prevents crumbling during dipping.
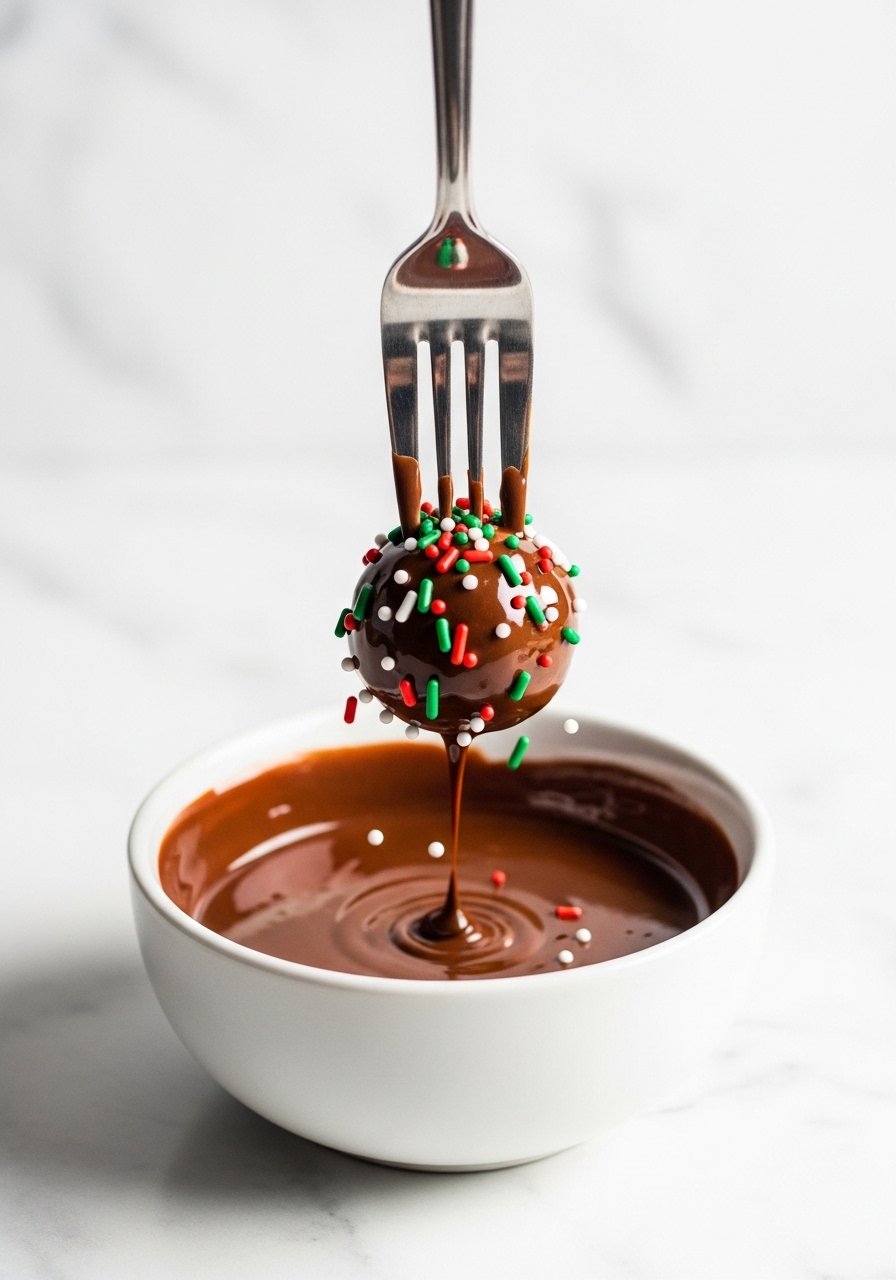
Step 4: Melt and Dip the Chocolate
Melt white chocolate in microwave-safe bowl: 30-second bursts, stirring until smooth (about 2 minutes total). Use a fork to dip frozen balls, tap off excess.
Smooth coating comes from fully frozen centers—chocolate sets fast. Work in batches to keep chocolate melted.
Return to parchment; add sprinkles immediately before set.
Step 5: Chill and Serve
Refrigerate 30 minutes until chocolate hardens. Store in airtight container.
Final chill locks in shine and firmness. Now your no-bake holiday dessert is ready to wow.
Tips for Perfect No-Bake Balls
Don't skip softening cream cheese—it blends seamlessly, avoiding lumps.
Use a small cookie scoop for even portions; it speeds things up and keeps sizes uniform.
If chocolate thickens, stir in 1 tsp coconut oil for silkier dip—stays pourable longer.
Work quickly with toppings; sprinkles adhere best to tacky chocolate.
Common Mistakes to Avoid
Overmixing leads to dense texture—stir just until combined.
Skipping the freeze step causes breakage; cold balls hold shape.
Microwaving chocolate too long burns it—short bursts and patience win.
Thin coating from not tapping forks? Double-dip after first set for pro look.
Storage and Make-Ahead
These balls keep 1 week in fridge in single layer, covered.
Freeze up to 2 months: flash-freeze first, then airtight bag. Thaw in fridge.
Perfect for holidays—ahead prep frees your schedule.
Serving Suggestions
Arrange on tiered stand with greenery for parties.
Pair with hot cocoa or coffee—contrasts the sweetness.
Gift in holiday tins lined with tissue; add ribbon for charm.
Serve chilled for best texture; they soften at room temp.
Final Thoughts
You've nailed a stunning no-bake holiday dessert that'll steal the show.
Simple steps, big flavor—now relax and enjoy the holidays.
Your guests will beg for the recipe.