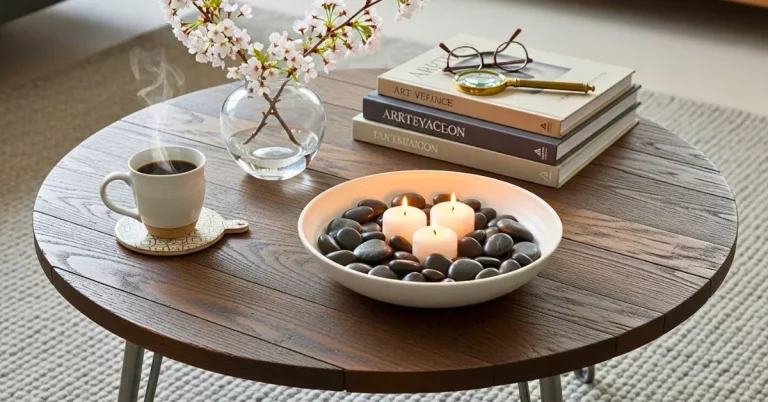
My kitchen counter used to be a mess. Coffee maker shoved to one side. Pods scattered. Mugs stacked unevenly. Every morning, it felt chaotic.
I wanted a spot that invited me to linger. Not perfect, just comfortable.
One weekend, I rearranged it. Now it pulls the room together.
How to Set Up a Coffee Station at Home
This guide shows you how to create a coffee station that feels balanced and welcoming. You'll end up with a dedicated spot on your counter that flows with your daily routine. It's simple to do in an afternoon.
What You’ll Need
- 14-inch natural oak tray
- Matte black drip coffee maker
- White ceramic mug stack (set of 4)
- Bamboo mug tree, 10 inches tall
- Glass canister for coffee beans (16 oz)
- Small woven basket for pods
- Faux greenery in terracotta pot (6 inches)
- Wooden stir sticks in slim holder
- Linen tea towel in cream
Step 1: Pick Your Spot
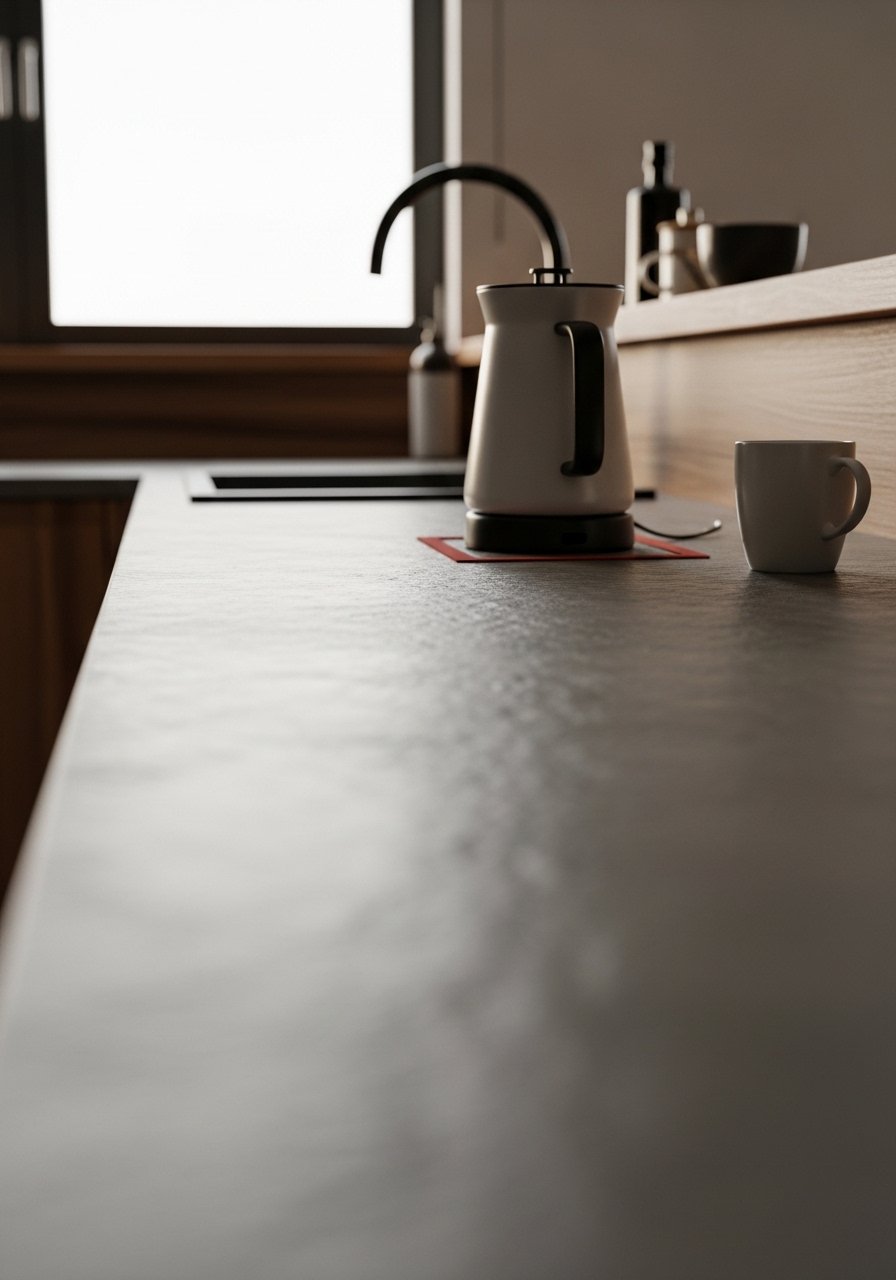
I start by eyeing the counter near the sink. It's close to water and light. This keeps mornings easy.
Visually, it anchors one end of the counter. The space opens up.
People miss how light hits here. Pick morning sun for a warm start. Avoid dark corners—they make it feel closed.
Don't cram it against a wall. Leave breathing room on sides.
I clear everything else first. Wipe down. Now it waits, ready.
Step 2: Anchor with the Tray
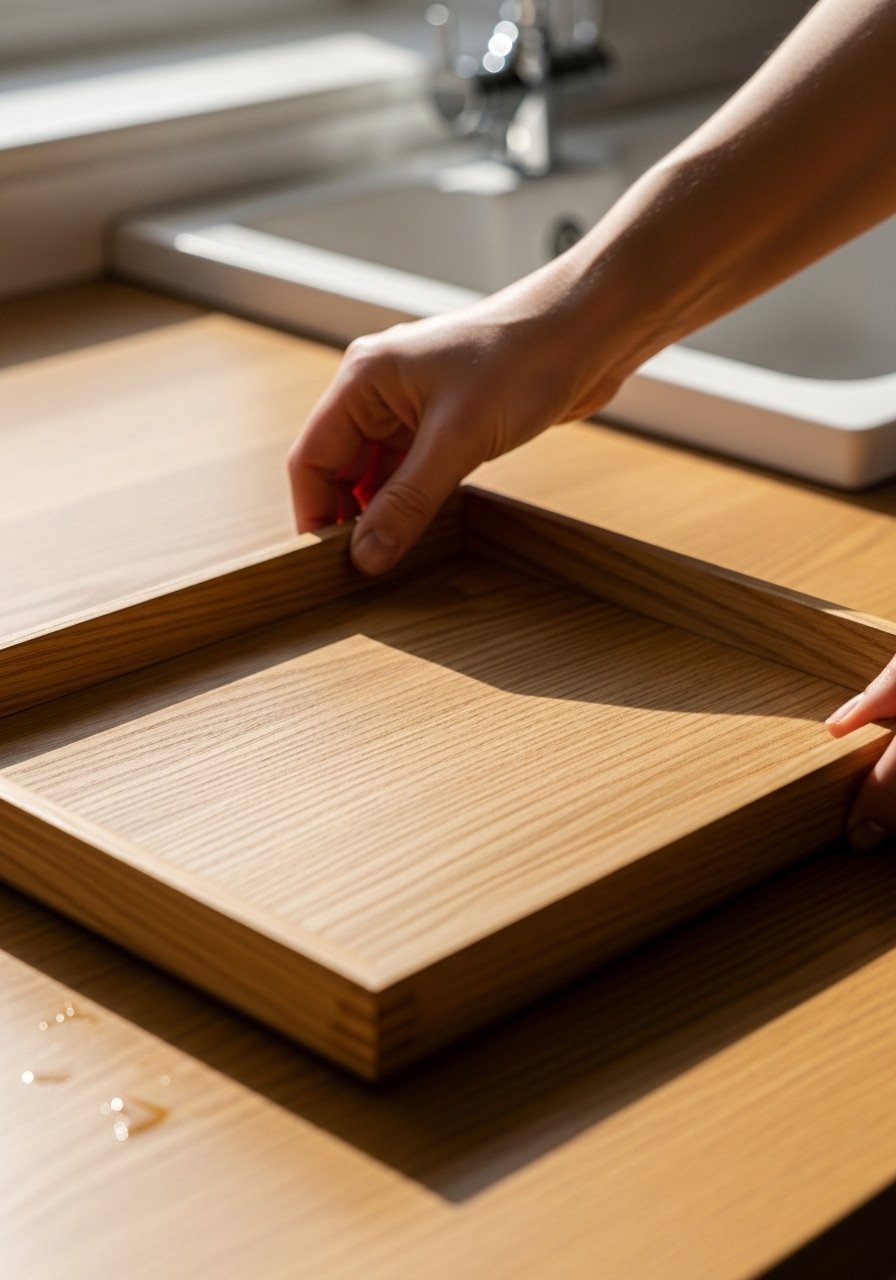
Next, I center the oak tray. It holds everything steady. Creates a boundary.
The counter looks calmer right away. Items won't wander.
Most overlook tray height—it lifts gear off the surface for airiness. Flat setups feel heavy.
Skip glossy trays. Wood warms it up. Matches my cabinets.
I step back. Tray sits level. Good bones now.
Step 3: Place the Coffee Maker
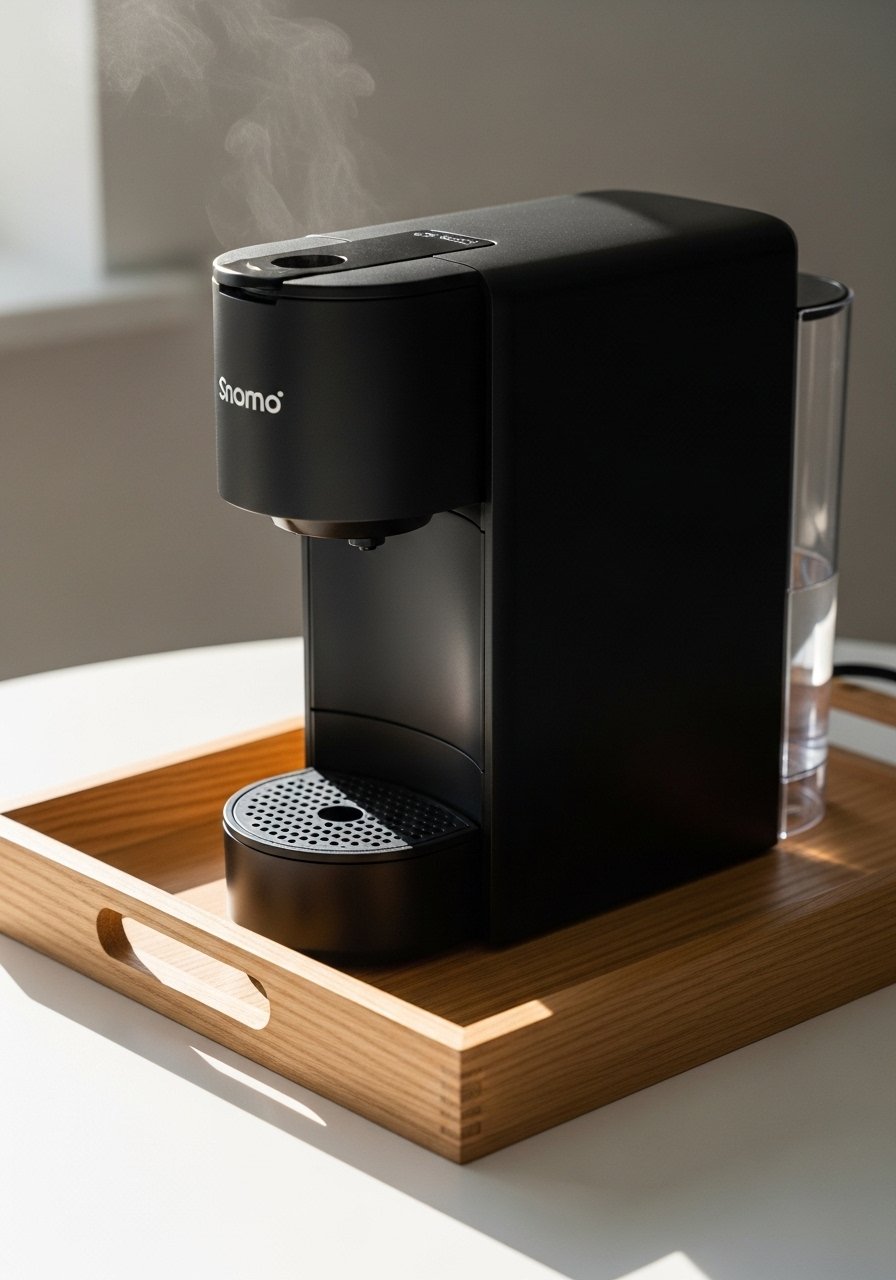
I set the coffee maker front and center on the tray. It's the heart.
Now the station has purpose. Draws your eye without dominating.
Folks forget to plug it in nearby. Test reach before committing.
Avoid back-row placement. Front keeps it handy, less reaching.
Warmth builds. Tray frames it just right.
Step 4: Layer in Essentials
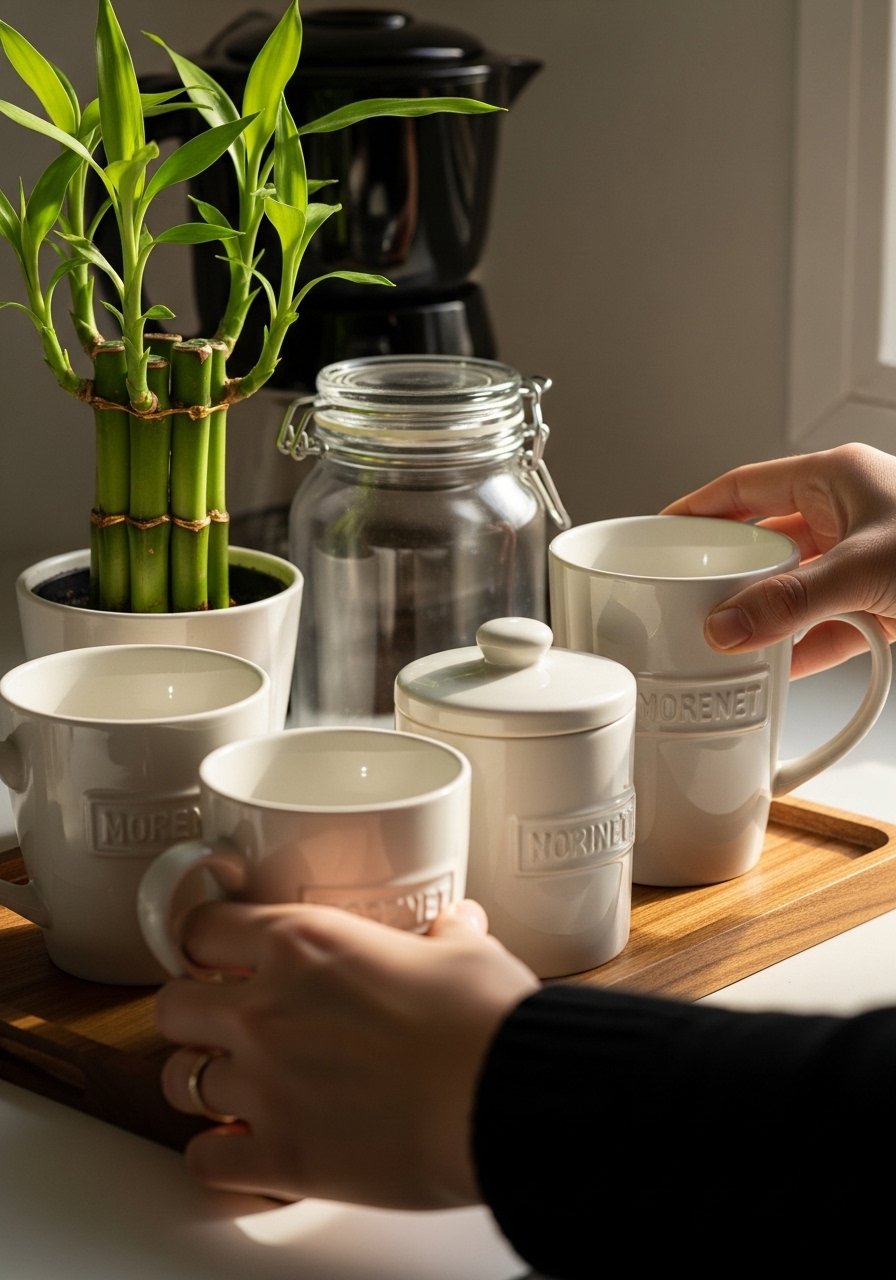
Mug tree goes to the right. Canister and basket left. Pods tuck in.
Balance appears. Heights vary—tall tree, low basket.
Insight: odd numbers group best. Three items feel full, not fussy.
Don't overload. Full tray tips forward. I pull one if crowded.
It settles. Inviting now.
Step 5: Soften with Touches
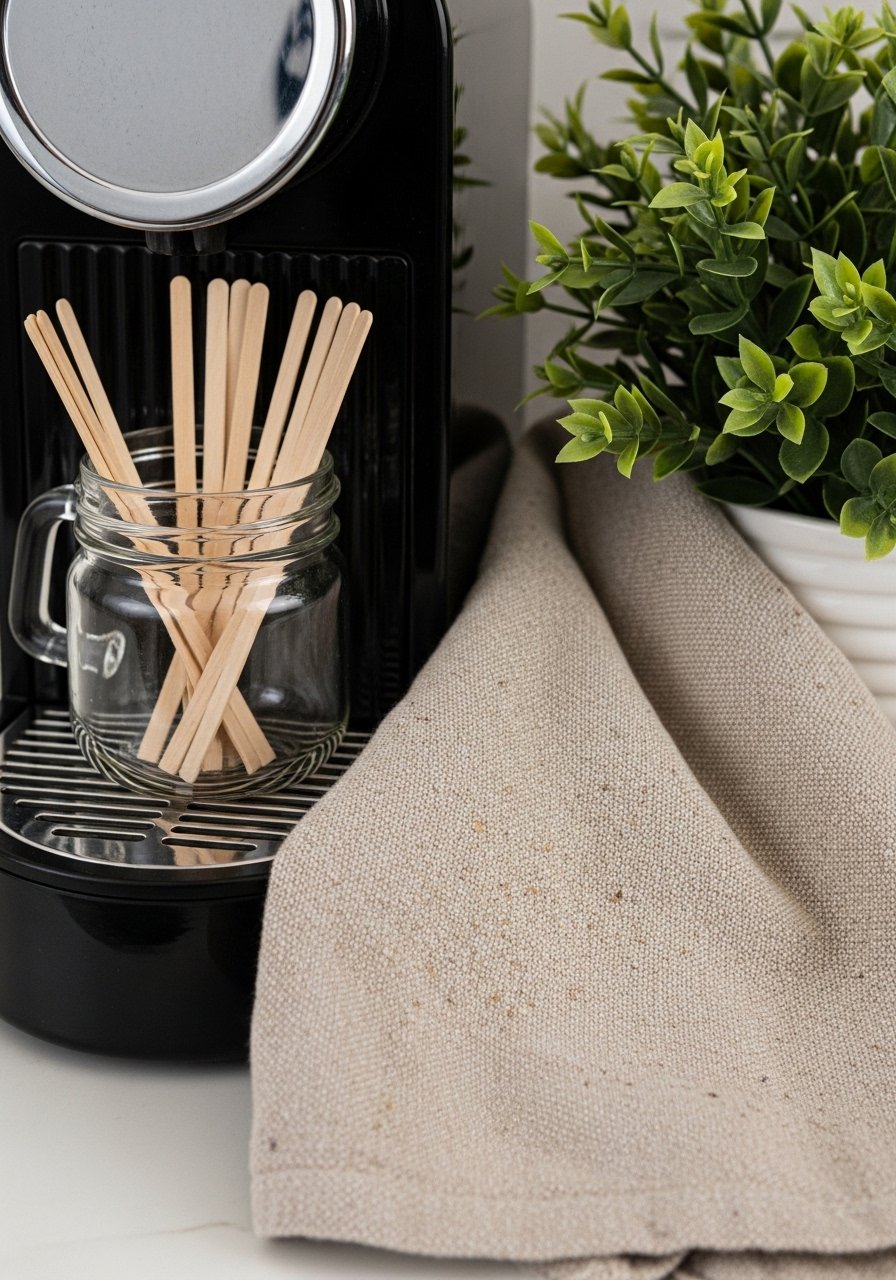
Greenery pot nestles back left. Towel drapes edge. Sticks in front.
Layers add life. Counter feels complete, not bare.
Missed tip: greenery echoes window plants. Ties to room.
No stiff folding. Loose towel prevents stiff look.
Step back. Balanced, comfortable spot.
Step 6: Check the Flow
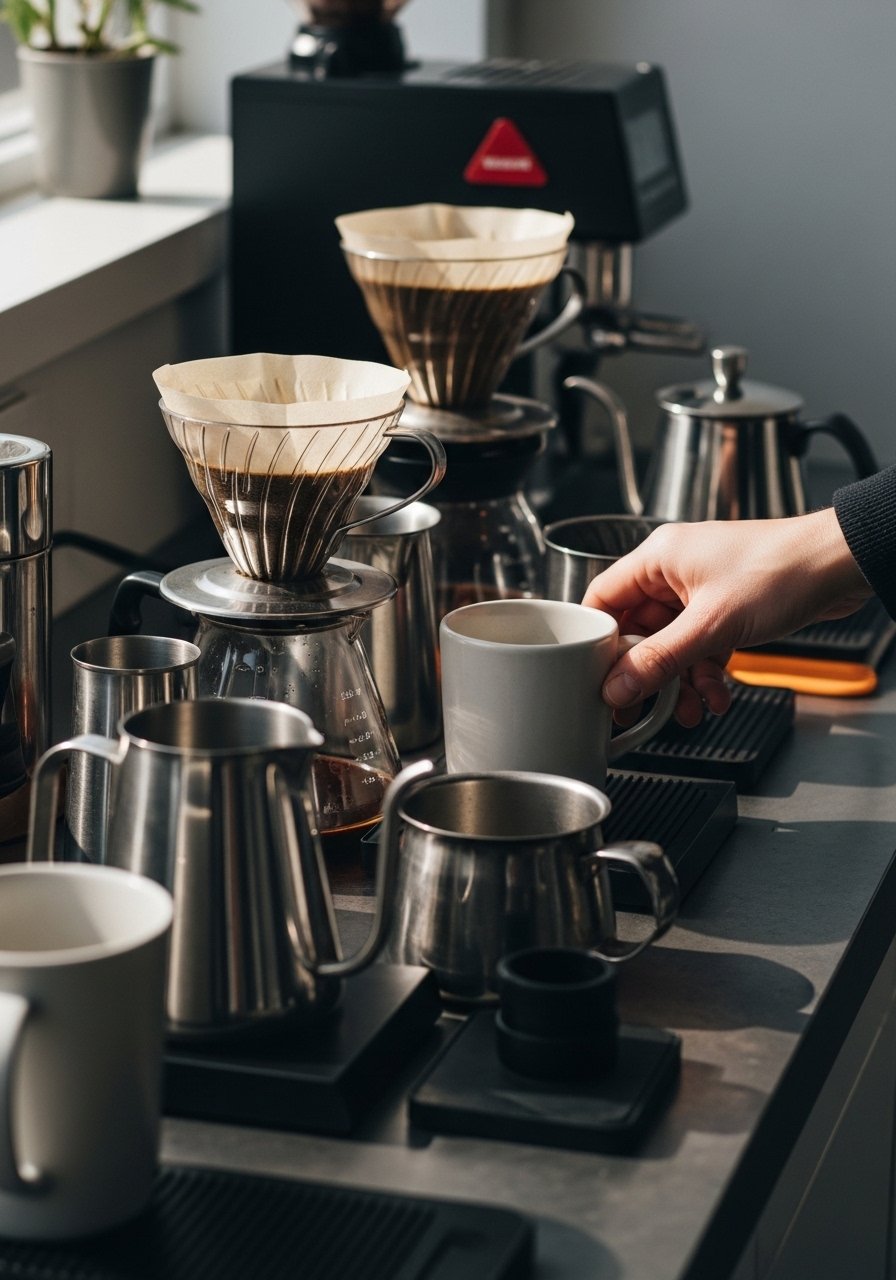
I pour water. Reach for mug. Adjust if snag.
Everything flows. Morning ritual smooths out.
People skip this test. Feels right visually, but use reveals gaps.
Don't ignore cords. Bundle under tray.
Now it's mine. Daily ease.
Arranging for Balance
Balance comes from heights and groupings. Tall mug tree offsets low basket.
I eye it from the table. Does it pull or push?
- Vary heights: 2 low, 1 tall per side.
- Mirror weights: heavy maker centered.
- Negative space: 20% empty on tray.
This keeps it grounded.
Everyday Maintenance
Wipe daily. Refill canister weekly.
It stays fresh without effort.
- Spot clean tray mornings.
- Rotate mugs to front.
- Swap greenery seasonally.
Small habits keep the feel.
Adapting to Your Kitchen
In small kitchens, wall-mount the tree.
My old place had tight counters. Tray shrunk to 10 inches.
- Measure first: 18 inches wide max.
- Vertical storage if needed.
- Match woods to cabinets.
Fits without crowding.
Final Thoughts
Start with just tray and maker. Build from there.
You'll see the counter settle.
It's your spot now. Mornings feel steady.
One change, real ease.