You've got a pie crust ready, but that filling? It's the star. Making dried cherry pie filling at home turns humble dried fruit into a luscious, tart-sweet treasure. No fresh cherries needed—just pantry staples.
This guide walks you through every step, so you nail the perfect glossy texture without guesswork. Say goodbye to runny fillings or bland bites.
Picture plump cherries bursting with flavor, ready to spoon into your favorite pie.
How To Make Dried Cherry Pie Filling
You're creating a thick, jammy dried cherry pie filling that's shiny, scoopable, and packed with tart-sweet cherry goodness. It clings perfectly to pie crusts, bubbling just right when baked—no watery disasters here.
Ingredients
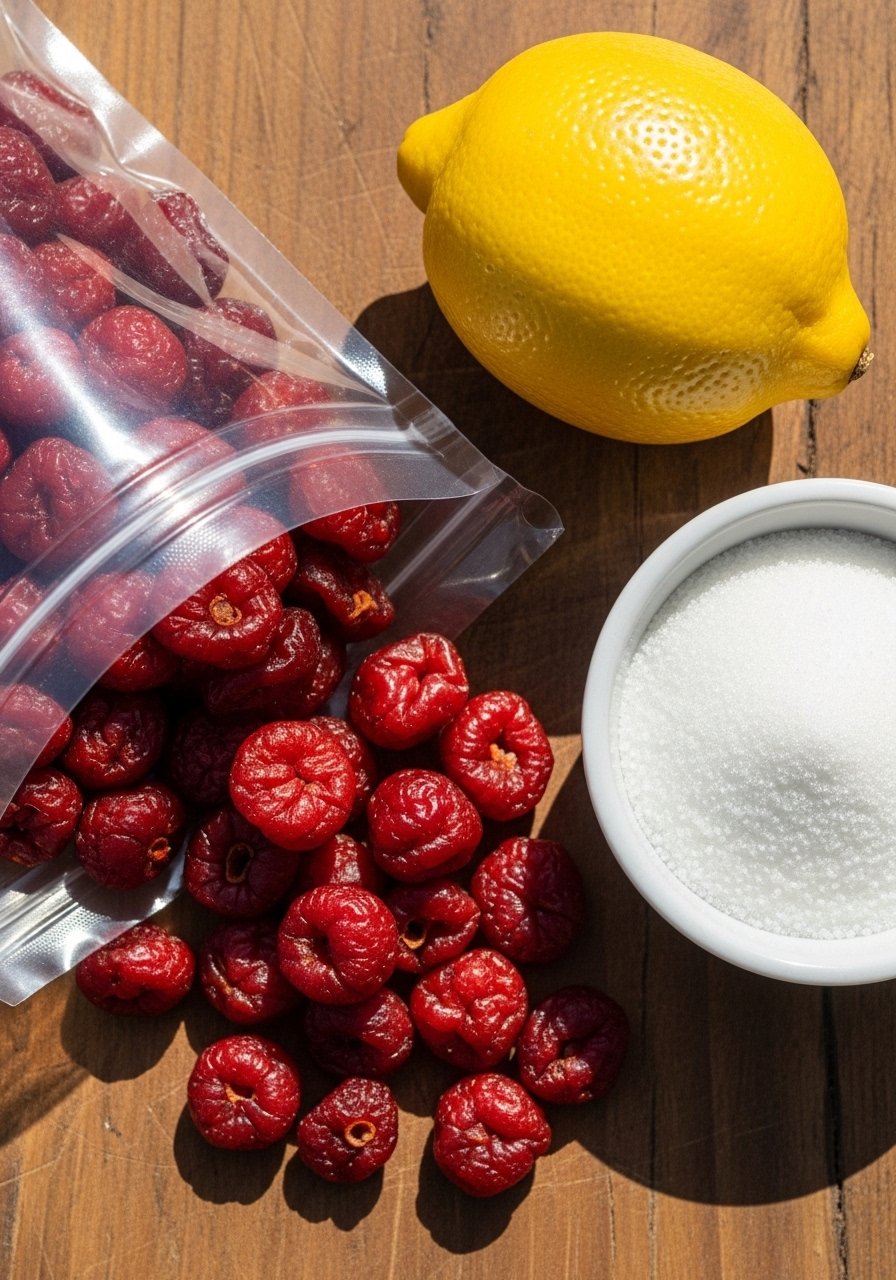
- 2 cups dried tart cherries (Montmorency or similar; they rehydrate beautifully for peak tartness)
- 1 cup unsweetened cherry juice or water (juice amps up flavor; water works in a pinch)
- ¾ cup granulated sugar (adjust to ½ cup if your cherries are sweet)
- 2 tablespoons cornstarch (for foolproof thickening)
- 1 tablespoon fresh lemon juice (brightens and balances sweetness)
- ¼ teaspoon salt (enhances cherry tang)
- 1 tablespoon unsalted butter (adds silkiness at the end)
- ½ teaspoon vanilla extract (optional, for depth)
Step-By-Step Instructions
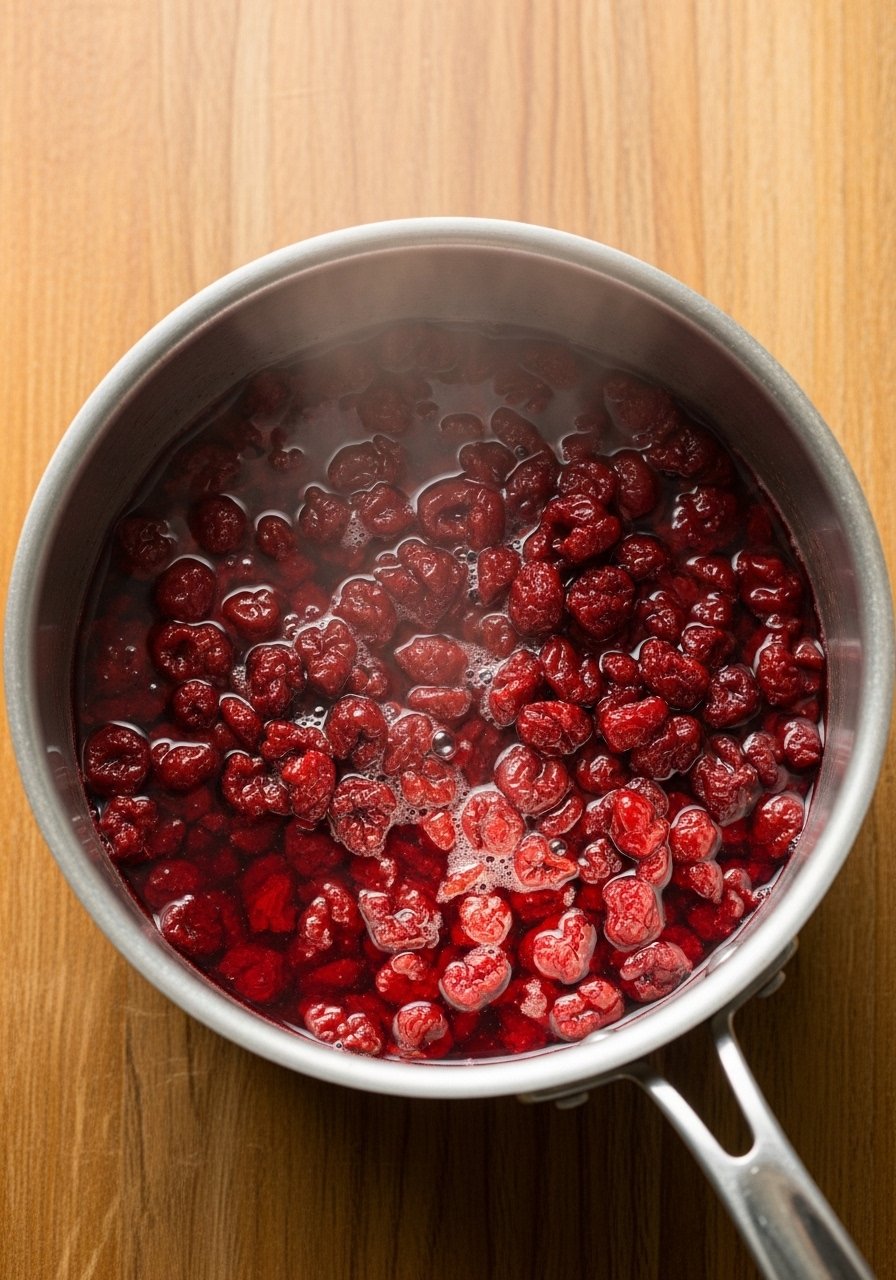
Step 1: Rehydrate the Cherries
Start by combining the dried cherries and cherry juice (or water) in a medium saucepan. Bring to a gentle simmer over medium heat—this takes about 5 minutes.
Why rehydrate first? Dried cherries need moisture to plump up, preventing tough bites in your filling. Stir occasionally; you'll see them soften and absorb liquid, turning vibrant red. Simmer 10 minutes total until juicy.
Step 2: Sweeten and Flavor
Stir in the sugar, lemon juice, salt, and vanilla (if using). Keep simmering on medium-low for 5 more minutes. The mixture thickens slightly as sugar dissolves.
This builds layers—sugar melts evenly, lemon cuts richness, salt sharpens everything. Taste now; add a teaspoon more sugar if needed, but go slow to keep that signature tart kick.
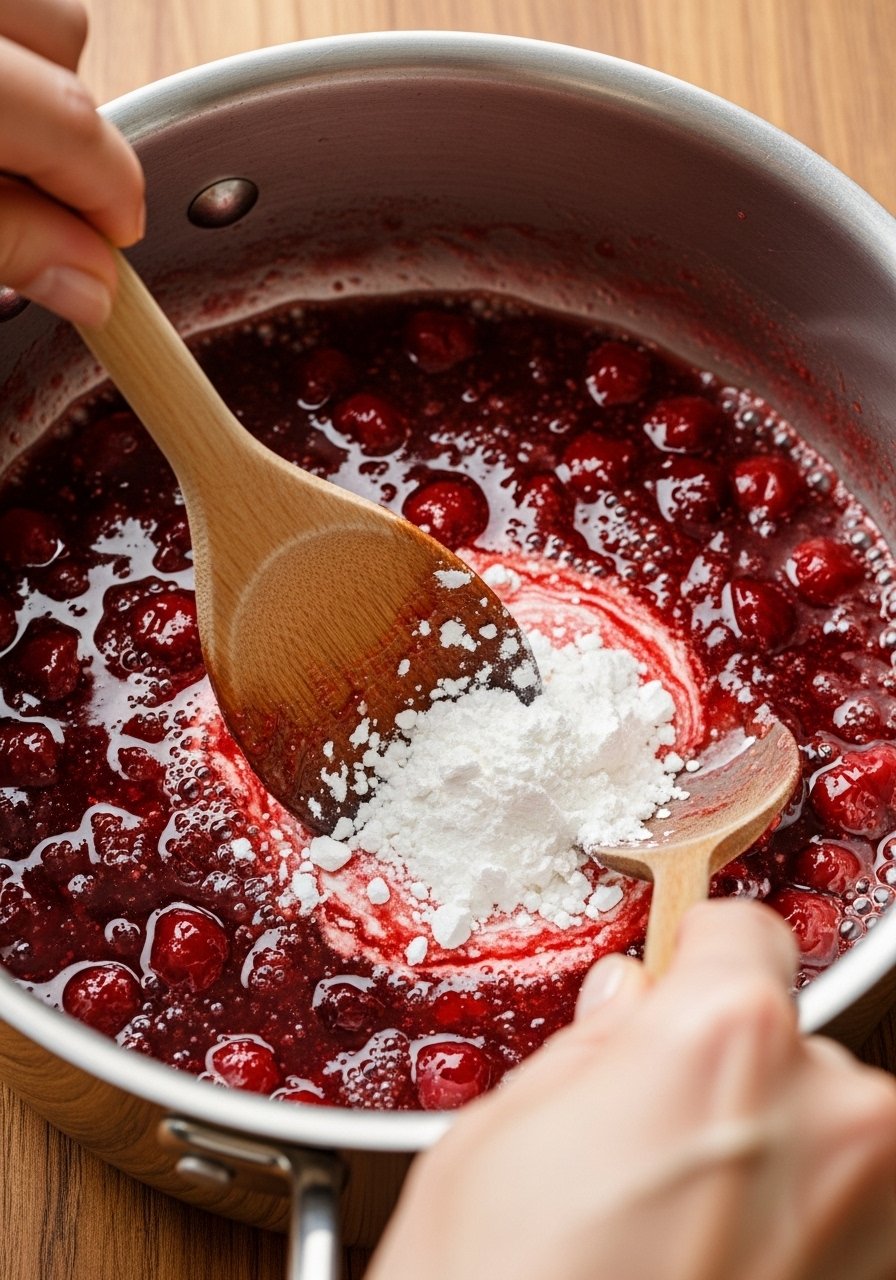
Step 3: Thicken to Perfection
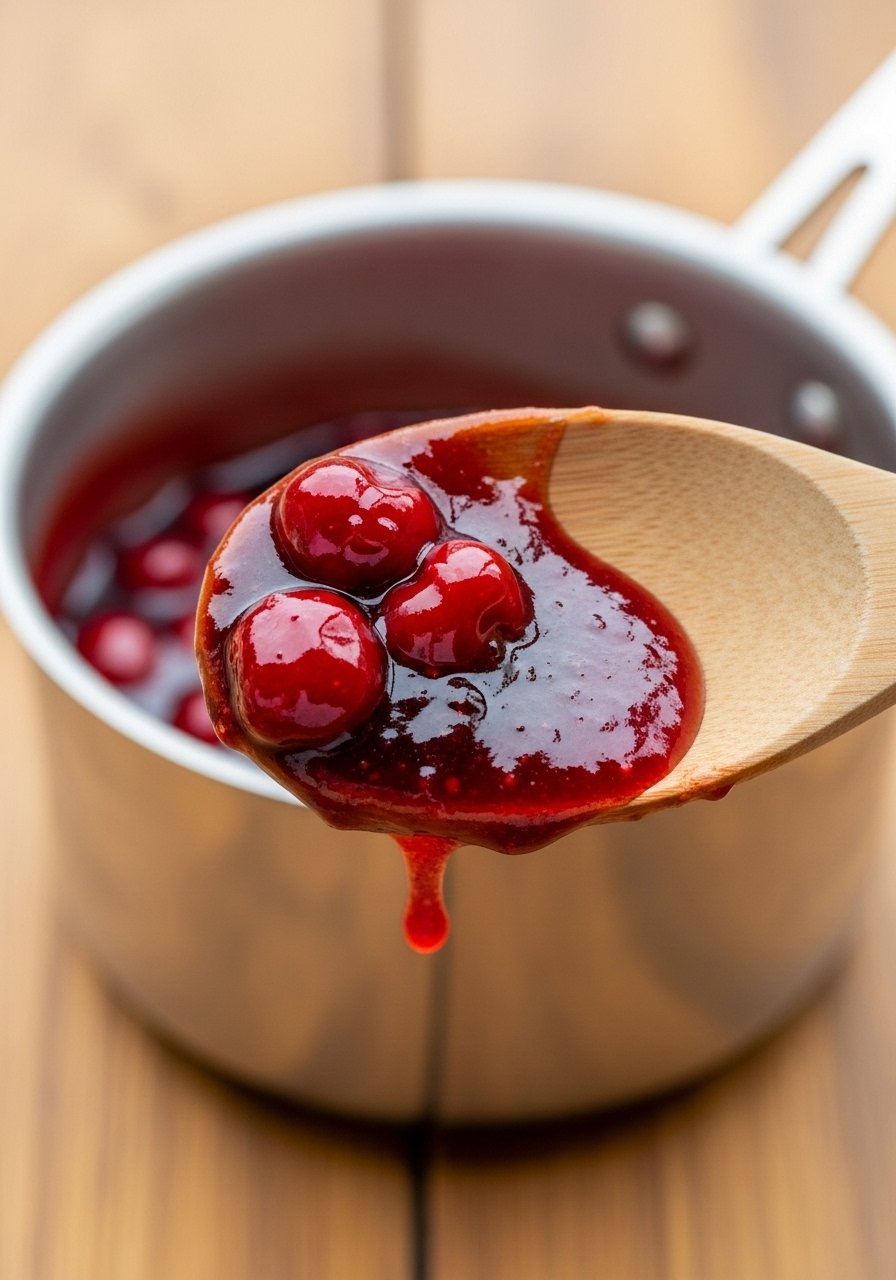
Whisk cornstarch with 2 tablespoons cold water to make a slurry—no lumps! Pour it in slowly while stirring constantly. Cook 2-3 minutes until bubbling and thick like jam.
Slurry is key for glossy hold without scorching. It activates at 190°F; pull off heat when spoon leaves trails. Stir in butter last for sheen.
Step 4: Cool and Use
Remove from heat. Let cool 30 minutes at room temp, then fridge for 1 hour. It firms up beautifully.
Cooling sets the pectin naturally. Spoon into pie shells now—makes enough for one 9-inch double-crust pie.
Choosing the Best Dried Cherries
Dried tart cherries shine here over sweet ones. Look for plump, unbroken Montmorency varieties—they soak up syrup without mushiness.
Store-bought bags vary; check for no added oils. A quick rinse removes dust.
Test one post-rehydration: it should yield softly, not crunch.
Troubleshooting Thickening Issues
Runny filling? Your slurry was too cool or undercooked—always boil 2 full minutes post-add.
Too thick? Splash in juice next time; cornstarch doubles volume fast.
Taste as you go; under-sweet stays fixable.
Storing Your Dried Cherry Pie Filling
Cool completely before jarring. Fridge in airtight glass up to 1 week—stays vibrant.
Freeze portions in zip bags up to 3 months; thaw overnight.
Label dates. Reheat gently on stove if needed, stirring to revive gloss. Perfect for spontaneous pies.
Final Thoughts
You've mastered dried cherry pie filling—glossy, tart, ready for any crust.
Trust the simmer; it'll transform basics into bakery magic. Your pies will steal the show.
Bake on.