You're planning the sweetest baby shower, but who has time for fussy baking? These mini no-bake cheesecakes are your answer—adorable, bite-sized delights that look pro but come together fast.
Picture creamy, tangy treats in cute liners, topped just right for the occasion. No oven needed, perfect for busy hosts.
They'll have guests cooing over the pastel perfection while you mingle.
How To Make Baby Shower Mini Dessert
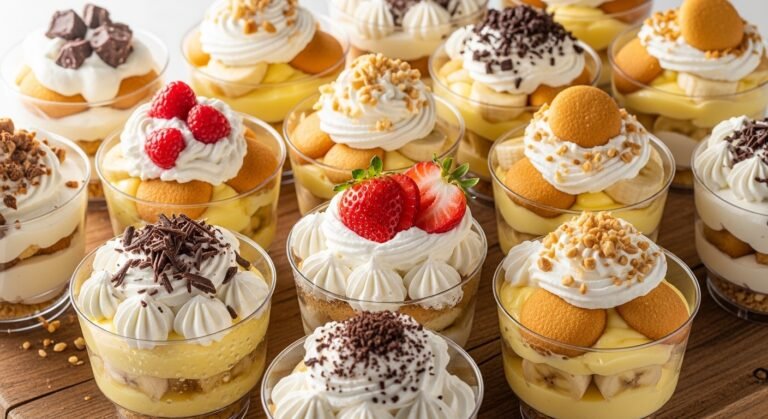
These baby shower mini desserts are no-bake cheesecake bites featuring a buttery graham cracker crust, silky lemon-kissed cream cheese filling, and fluffy whipped cream tops with fresh berries. They're light yet indulgent, with a melt-in-your-mouth texture that screams celebration—effortless elegance in every poppable piece.
Ingredients
-
For the crust (makes 24 minis):
- 1 ½ cups graham cracker crumbs (about 12 full sheets, finely crushed for easy pressing)
- ⅓ cup unsalted butter, melted (holds the crust together without sogginess)
- 2 tablespoons granulated sugar (adds subtle sweetness)
-
For the filling:
- 16 oz (2 blocks) cream cheese, softened to room temperature (key for smooth blending)
- ½ cup granulated sugar (balances tanginess)
- ¼ cup sour cream (for extra creaminess)
- 1 teaspoon vanilla extract (pure for best flavor)
- Zest and juice of 1 lemon (brightens without overpowering)
- 1 cup heavy whipping cream (whipped to stiff peaks for lightness)
-
For topping:
- 1 cup whipped cream (freshly whipped or store-bought stabilized)
- Fresh berries (strawberries, blueberries—about ½ cup each)
- Baby blue and pink sprinkles (for shower theme)
Step-By-Step Instructions
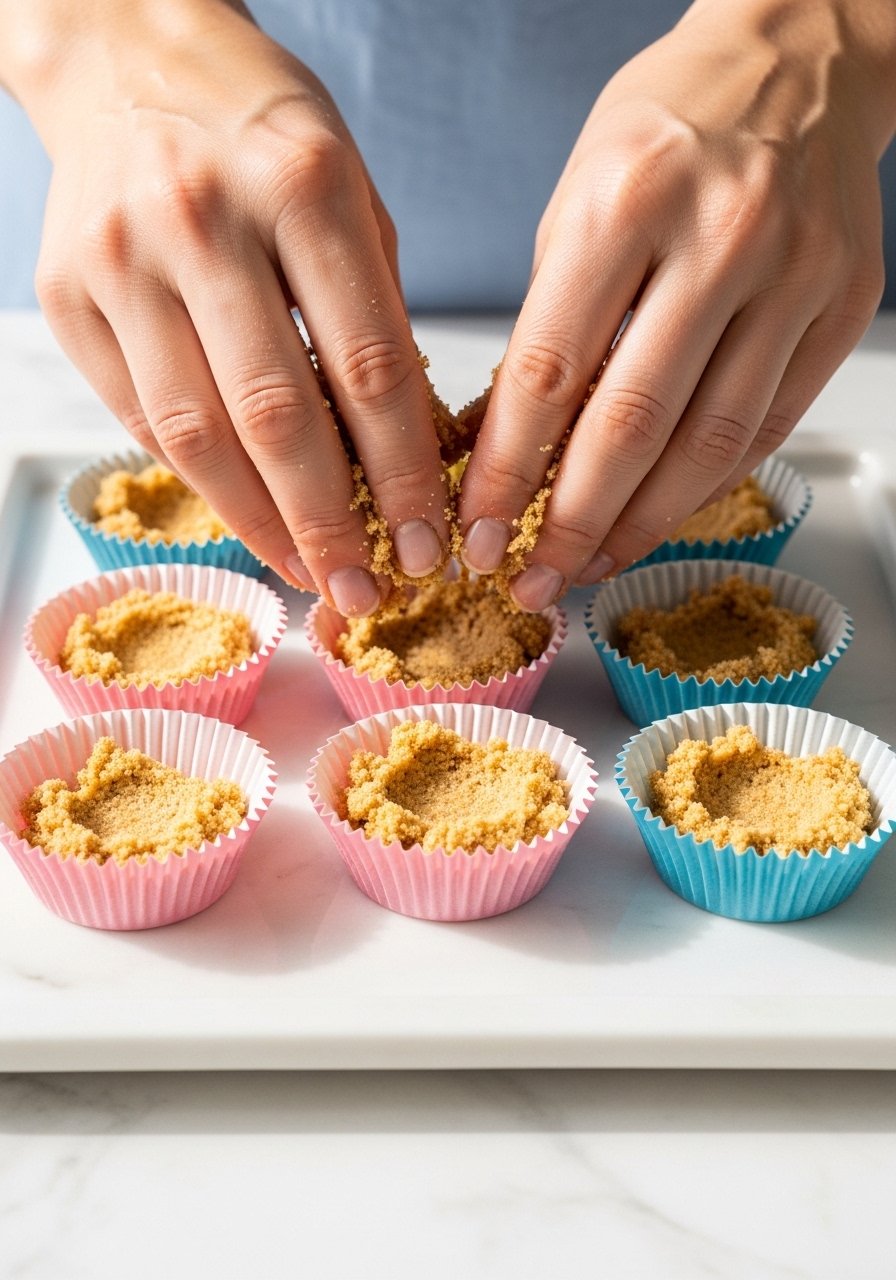
Step 1: Prepare the Crust
Start by combining the graham cracker crumbs, melted butter, and sugar in a medium bowl. Stir until the mixture resembles wet sand—it should hold together when squeezed. This base gives your minis that satisfying crunch without baking.
Line a mini muffin tin with 24 paper liners (pink or white for theme). Press about 1 tablespoon of crust firmly into each liner using the back of a spoon or small glass. The firm press prevents crumbling later. Chill in the fridge for 15 minutes to set while you make the filling.
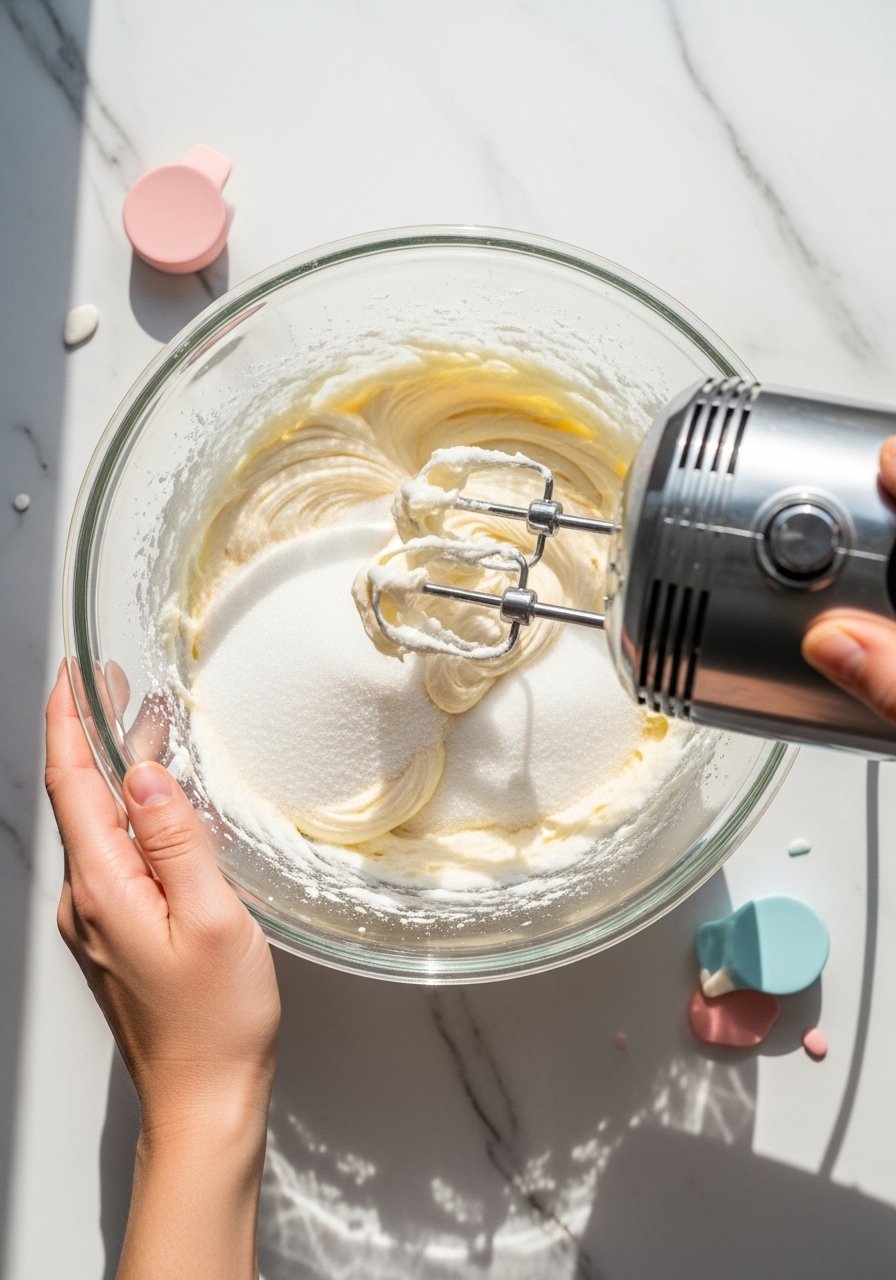
Step 2: Make the Cheesecake Filling
In a large bowl, beat the softened cream cheese and sugar with an electric mixer on medium speed until creamy, about 2 minutes. Scrape sides often for even texture—lumps ruin the silkiness.
Add sour cream, vanilla, lemon zest, and juice; mix until smooth. In a separate bowl, whip heavy cream to stiff peaks (takes 2-3 minutes). Gently fold into the cream cheese mixture. This aeration keeps bites light and airy, not dense.
Step 3: Assemble the Minis
Spoon or pipe the filling over the chilled crusts, filling each liner to the top (about 1 heaping tablespoon per mini). Smooth tops with a small offset spatula for a polished look.
Cover the tin loosely with plastic wrap and refrigerate for at least 4 hours, or overnight for best flavor infusion. Chilling firms everything up, making them easy to pop out without falling apart.
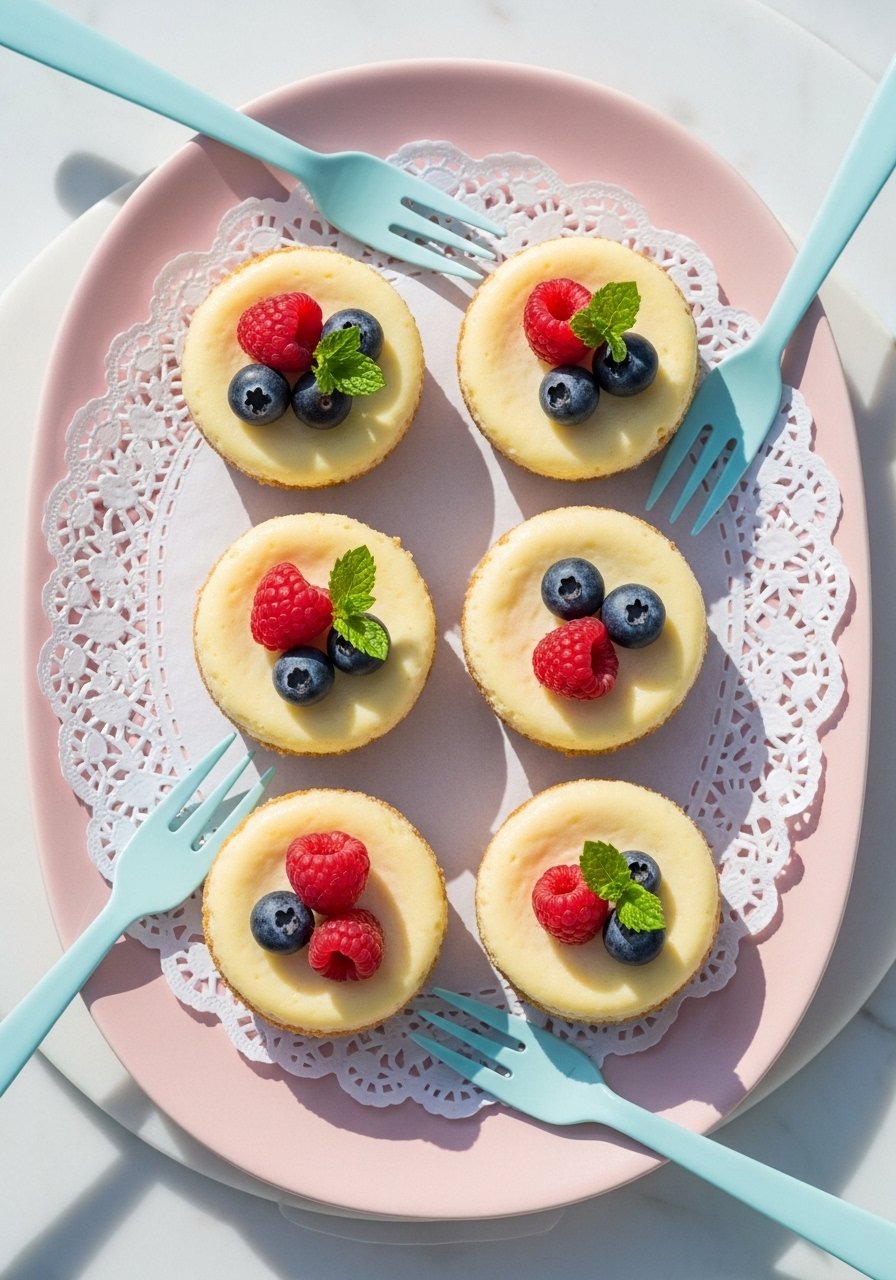
Step 4: Add Festive Toppings
Once set, pipe or dollop whipped cream on each mini. Top with halved strawberries, whole blueberries, and a sprinkle of pastel baby shower sprinkles. These add color pop and tie into the theme.
Gently remove from the tin. They're ready when they hold shape—chill longer if needed for perfect bites.
Baby Shower Decoration Ideas
Make your minis shine with simple, thematic touches. Use pastel royal icing to pipe tiny "baby" words or bootie shapes on whipped cream rosettes.
Scatter edible gold stars or gender-neutral white chocolate shavings for sparkle. Fresh mint leaves add a garden-party vibe without overpowering flavors.

Arrange on a tiered stand with tulle backdrop for photos. These details elevate plain bites to shower stars.
Make-Ahead and Storage Tips
Prep crusts and filling a day early—assemble then chill overnight. Flavors deepen beautifully.
Store in an airtight container in the fridge up to 3 days. Freeze baked-free bases (no fruit) for 1 month; thaw and top fresh.
Avoid stacking topped minis to prevent smudging. Room temp serving (10 minutes out) softens for best texture.
Serving and Presentation Suggestions
Serve on pastel platters lined with doilies for instant charm. Pair with lemonade or mocktails.
Offer toothpicks or mini forks in baby colors. A sign saying "Mini Sweet Bites" draws eyes.
Display at eye level on dessert tables. Guests love grabbing one (or three) easily.
Troubleshooting Common Mistakes
If filling is runny, ensure cream cheese is fully softened and cream whipped stiff—undermixing causes this.
Crust too crumbly? Add 1 teaspoon more butter next time. Over-chilling dries edges; cover well.
Lemon too tart? Taste filling before assembling; adjust zest. These fixes keep your batch flawless.
Final Thoughts
You've got this—these minis turn any shower into a hit with minimal fuss.
Watch smiles light up as guests grab seconds. Your easy win shines through every creamy bite.
Feel that host glow; they're as fun to make as they are to share.